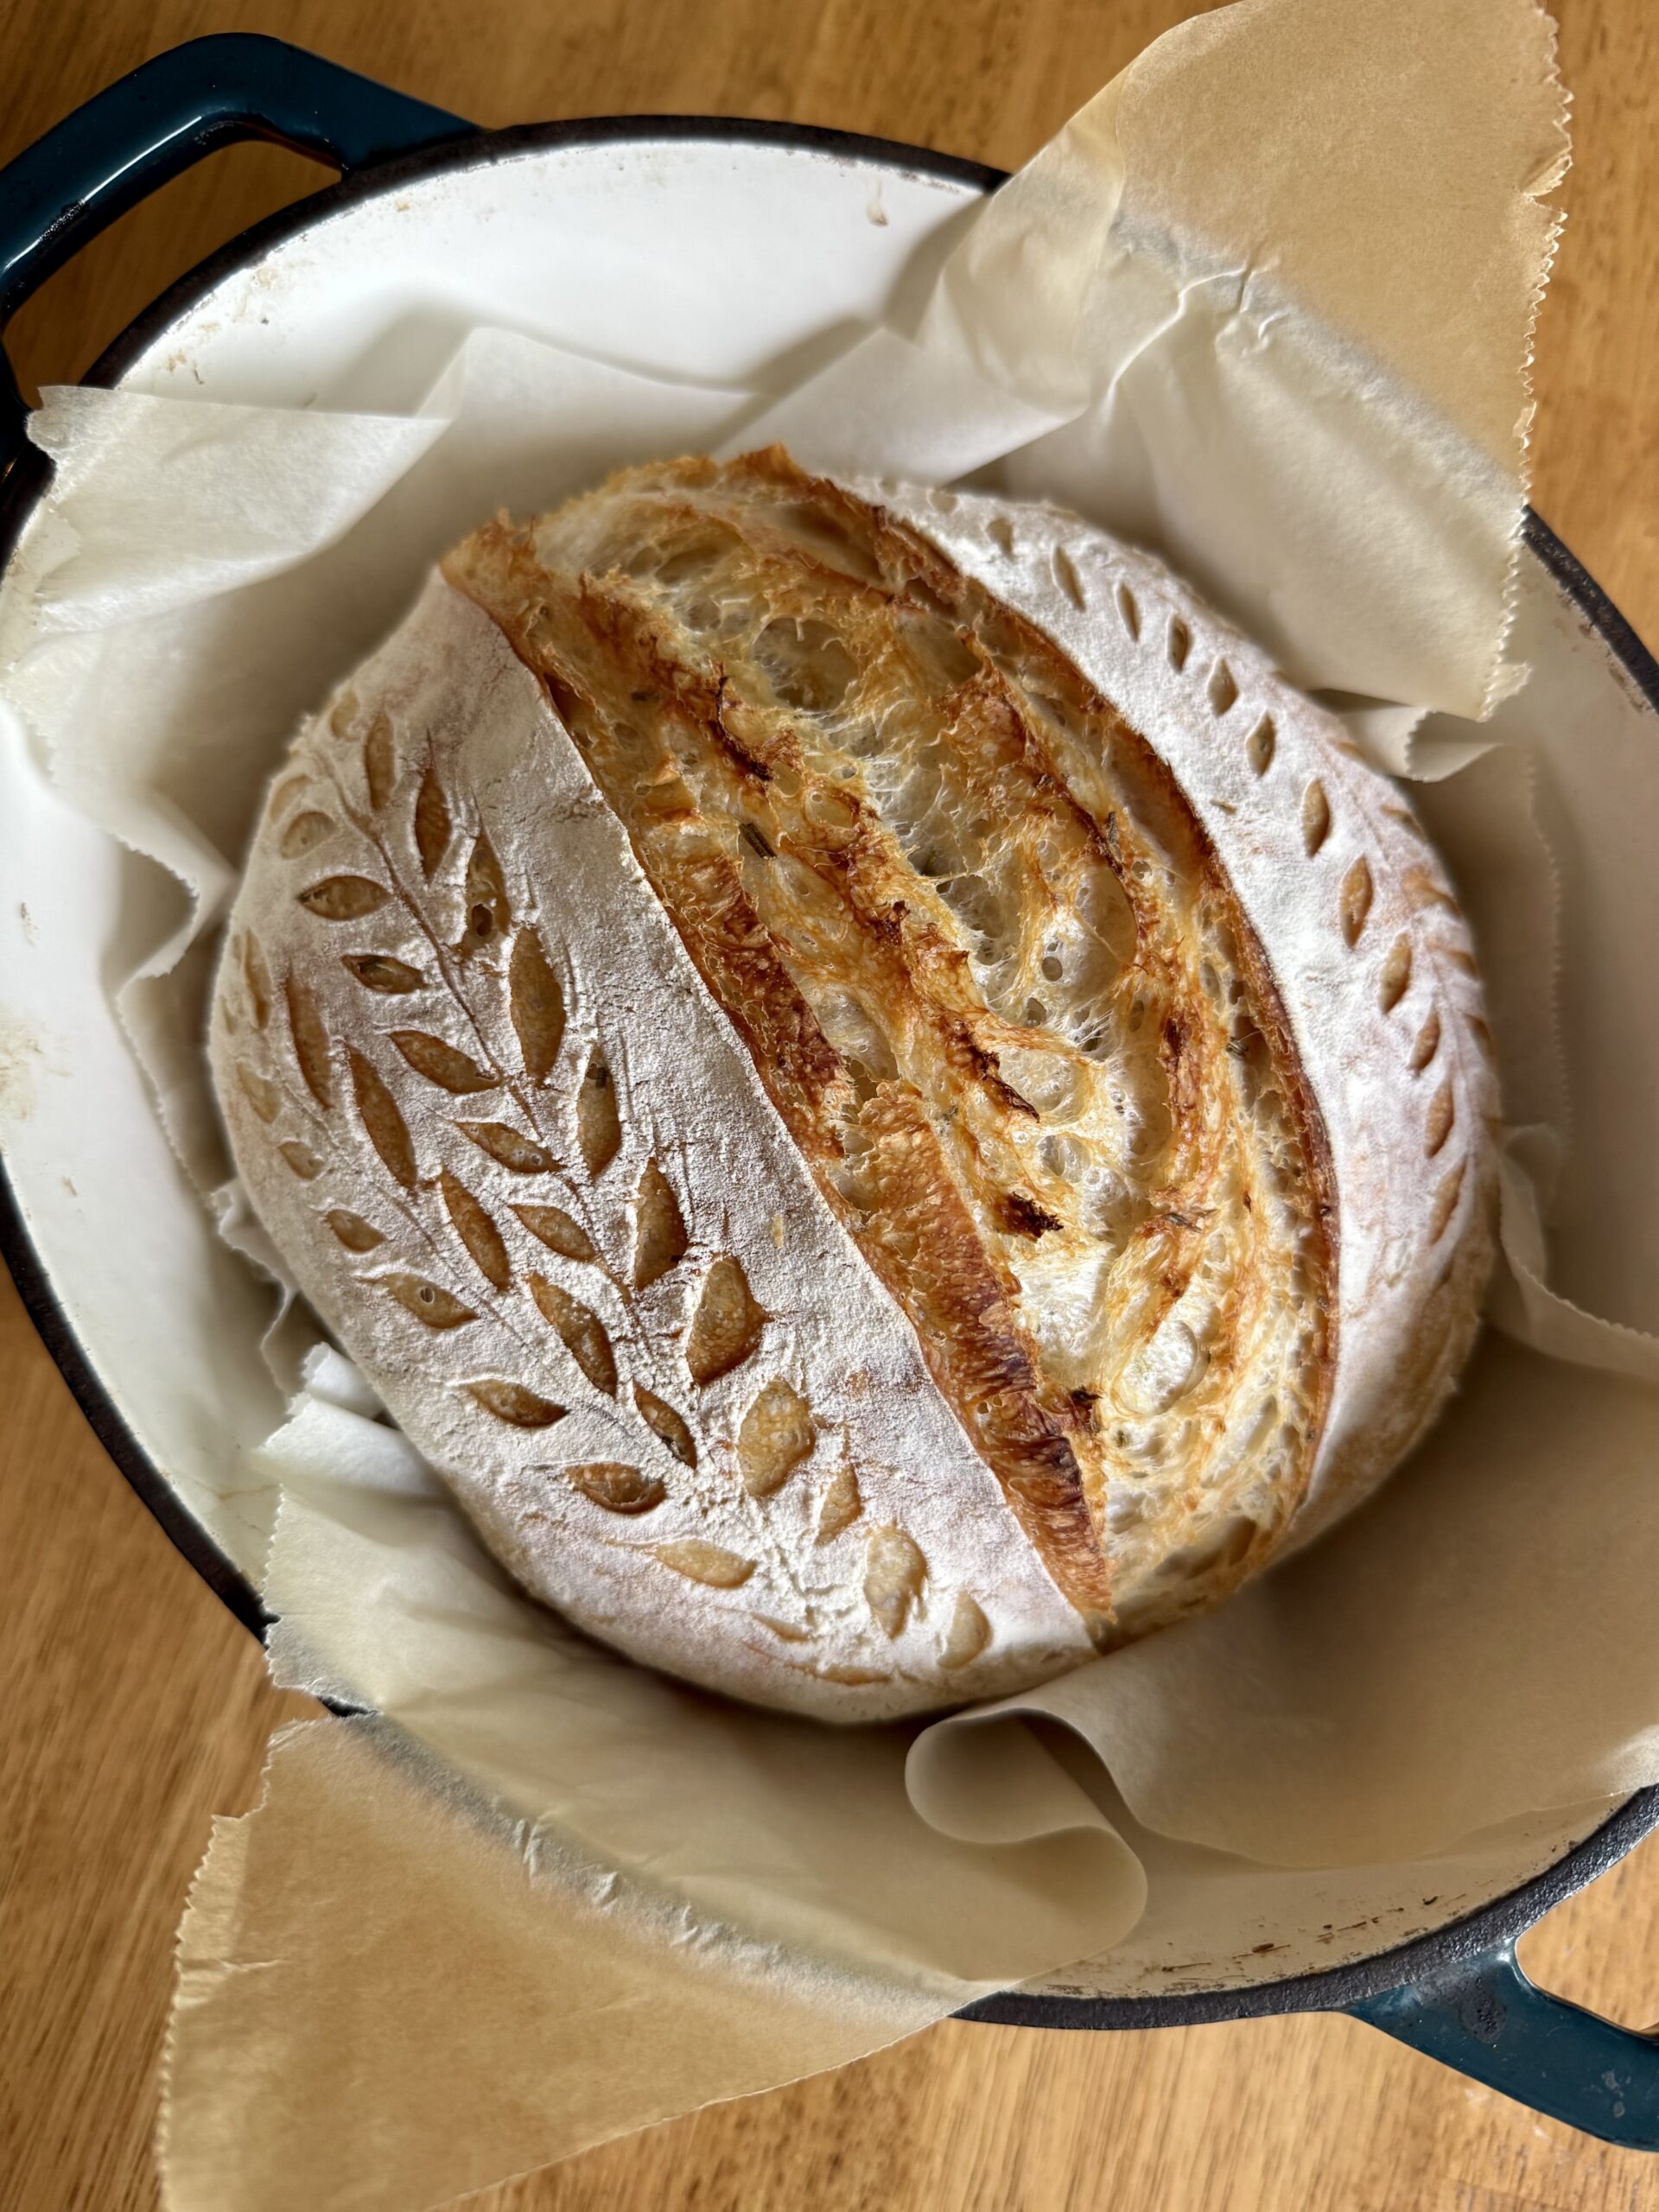
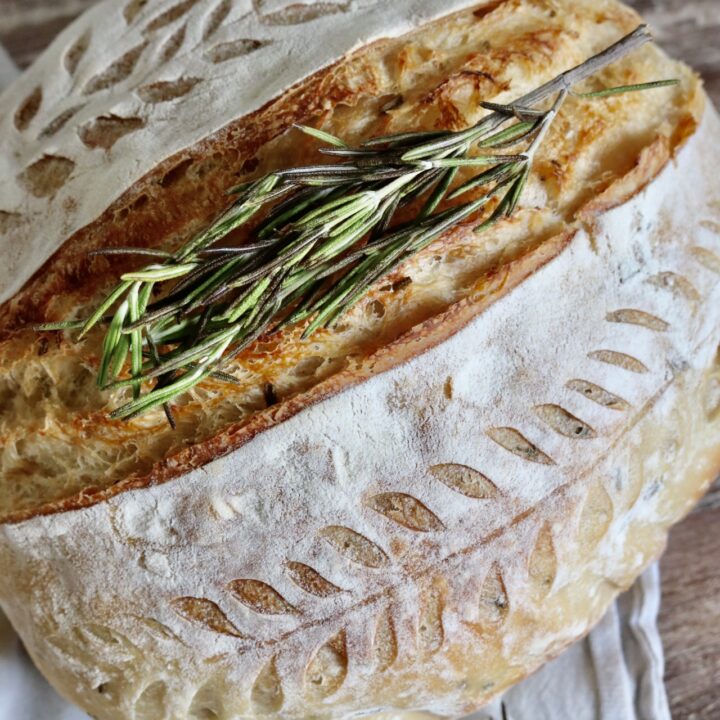
Rosemary Sourdough Bread
Rosemary and sourdough is the perfect combination for a crusty artisan loaf that is both beautiful and delicious! This rosemary sourdough bread recipe is simple, easy, and I will mention that it smells amazing too!

This post may contain affiliate links. Please read our full disclosure policy for more info.
This is one of my very favorite sourdough bread recipes that I find myself making over and over again. It turns out with a beautiful crust every time and the warm aroma of the rosemary as it’s baking is by far one of my favorite parts about it!
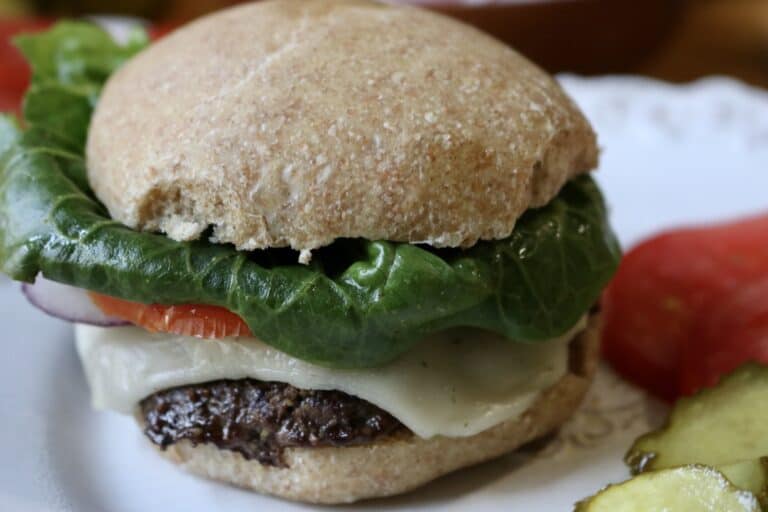
Rosemary sourdough bread pairs beautifully with a side of hot comforting soup or takes a simple sandwich to a whole new level. We love serving it toasted with rich yellow butter as a side to our eggs in the morning, using it for grilled cheese sandwiches to dip in homemade tomato soup, or for open-faced BLT’s as a perfect summer lunch.
If you are a new sourdough baker this is a great recipe to add to your repertoire, as it is very simple but feels and looks very elevated and like a fancier more complicated bread. Making something that looks, smells, and tastes this good as a beginner, is encouraging and gives you confidence to keep going with it.
Why You’ll Love this Recipe
Easy – this is one of the easiest sourdough bread recipes ever which makes it great for a beginner or if you’re just wanting a beautiful tasty bread that doesn’t take much effort.
Healthy – using sourdough in this bread rather than yeast makes for a slower rise which gives the dough time to break down the grains, thus making the nutrition more available and easier to digest.
No-Knead – this is a no-knead bread recipe! Instead it utilizes stretch and folds to develop the gluten in a very effective way, making for a soft texture and beautiful crust.
Ingredients
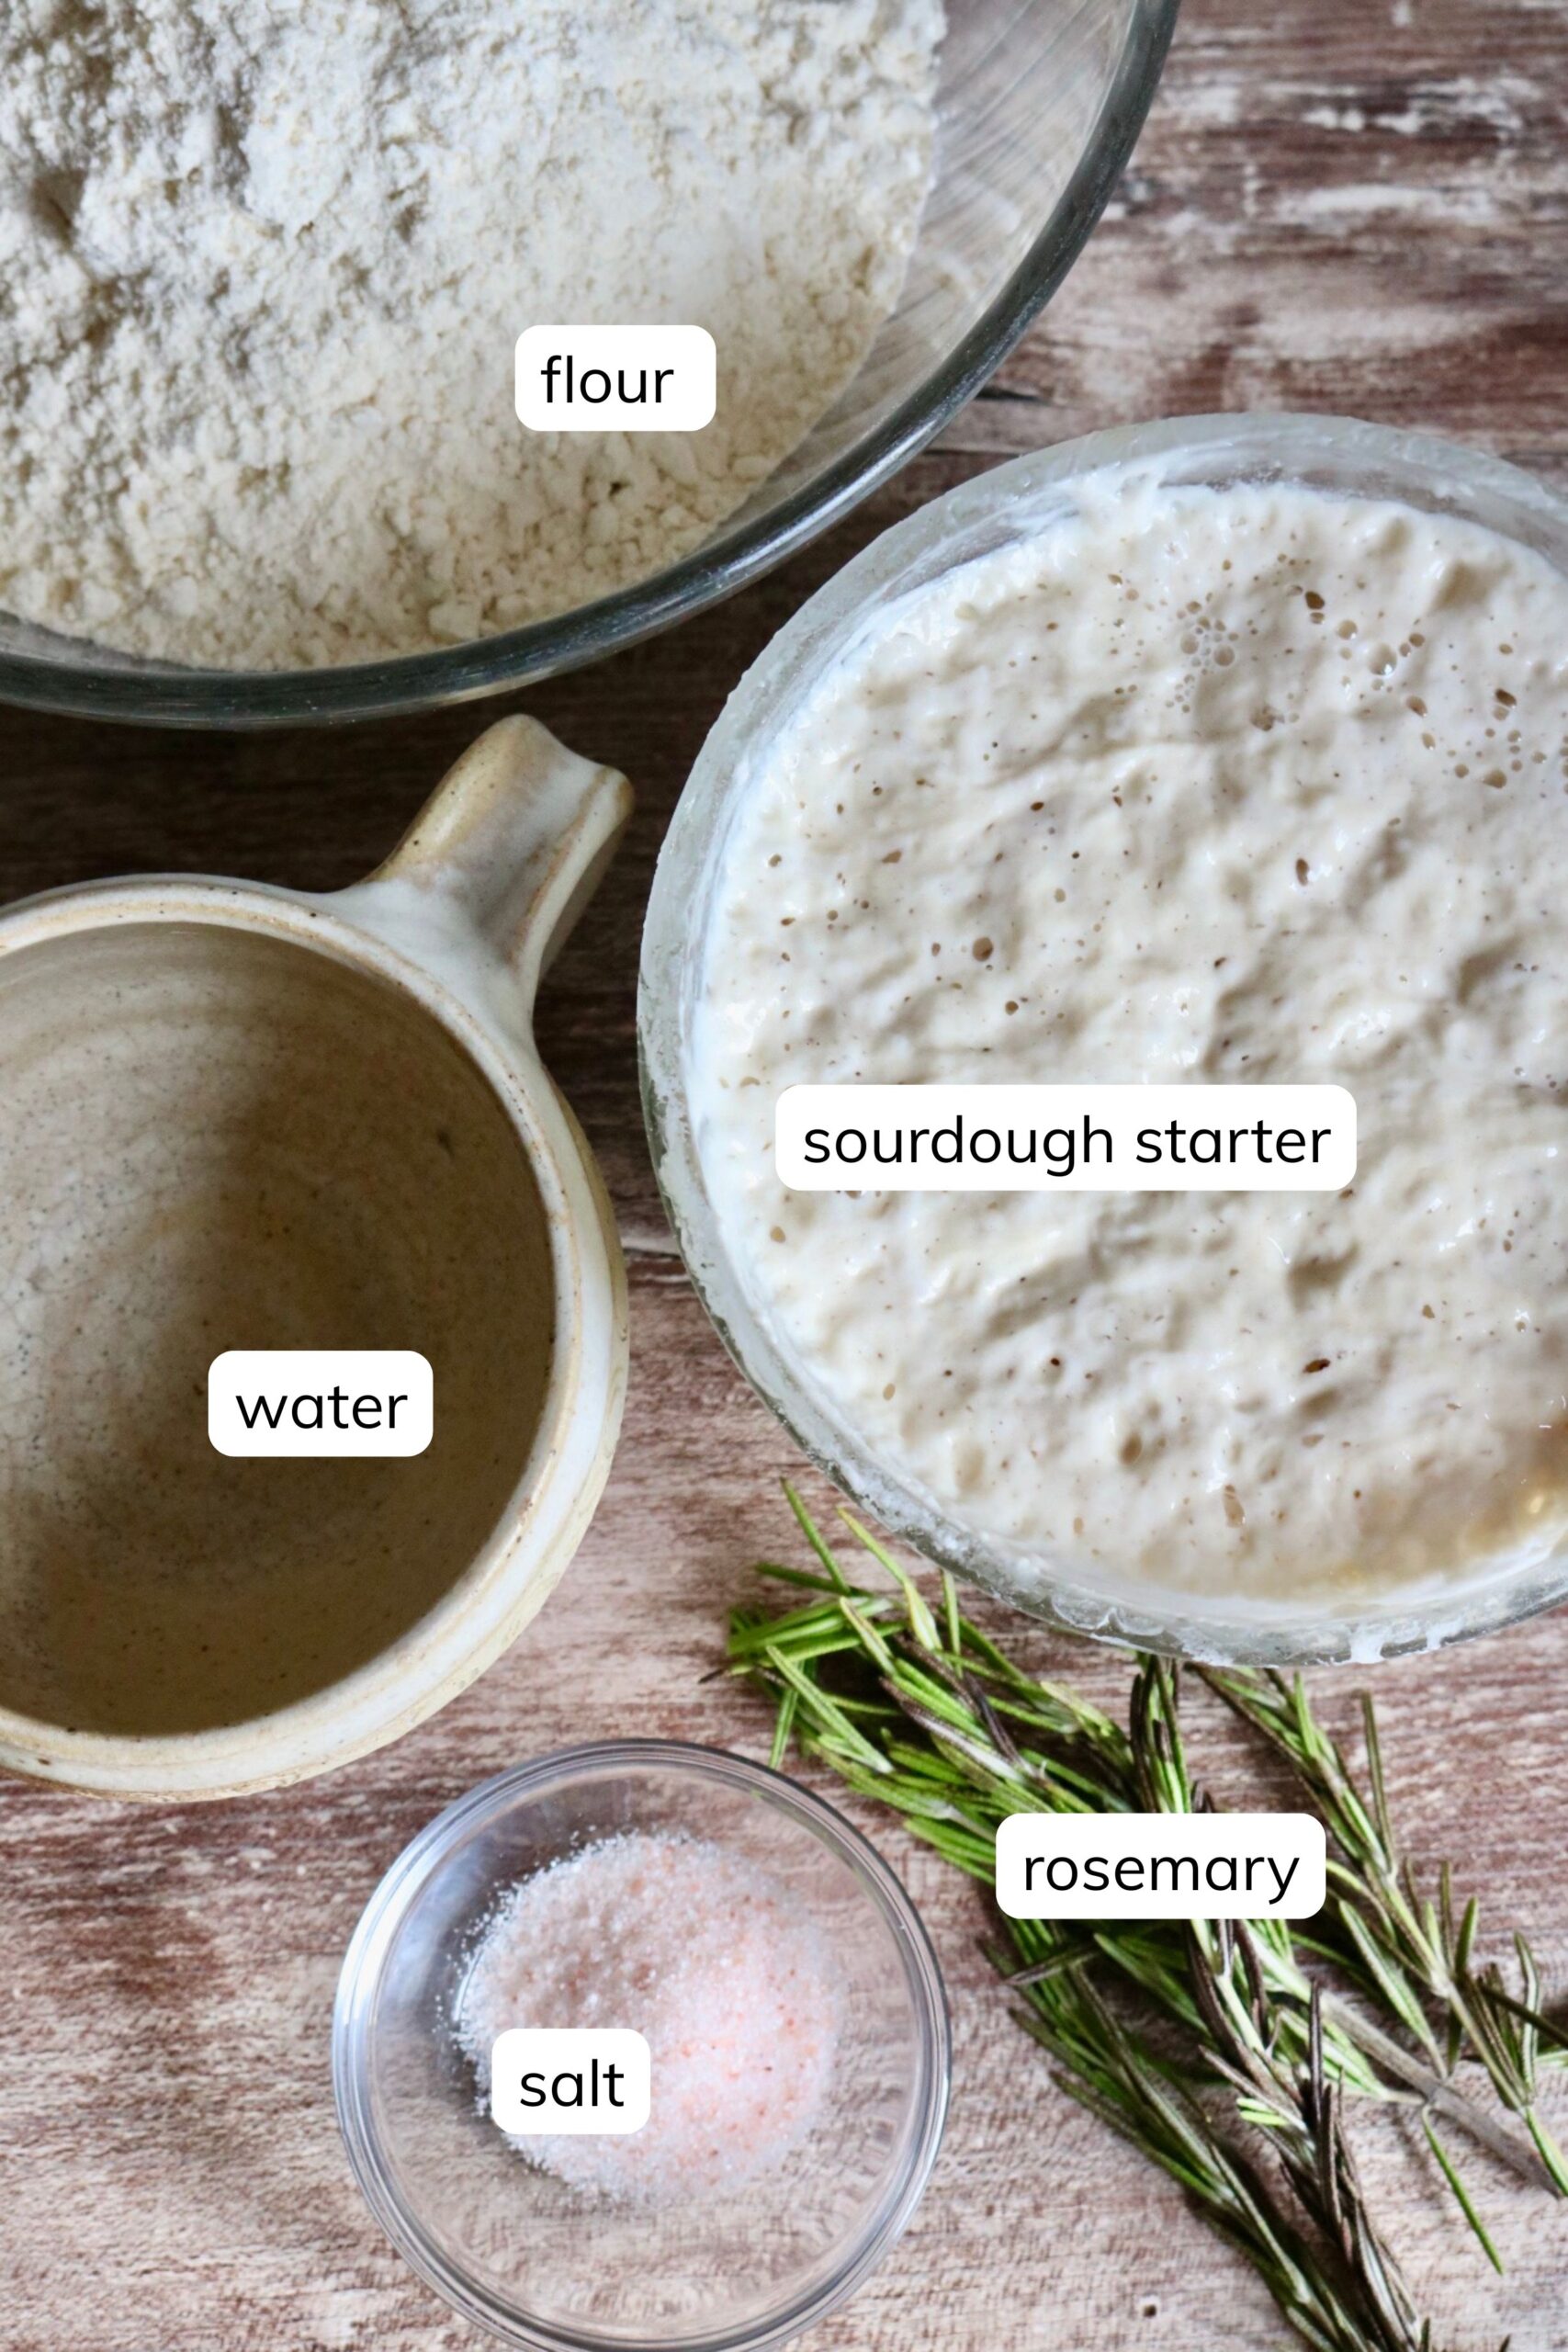
Flour – all-purpose flour. I also love using a combination of half all-purpose and half fresh milled whole grain.
Water
Sourdough starter – for best results use active sourdough starter, preferably one that’s been fed 4-12 hours prior to mixing up your bread.
Salt – pure fine grain sea salt or pink himalayan salt are my favorites.
Rosemary – the star ingredient of this bread! I love using fresh rosemary but dried works very well too if you don’t have fresh.
Step-by-step instructions (with pictures!) can be found below, followed by a recipe card with exact measurements.
Tools you May Need
Large bowl
Kitchen scale (one that measures in grams)
Bread lame, razor blade, or scoring knife
How to Make Rosemary Sourdough Bread
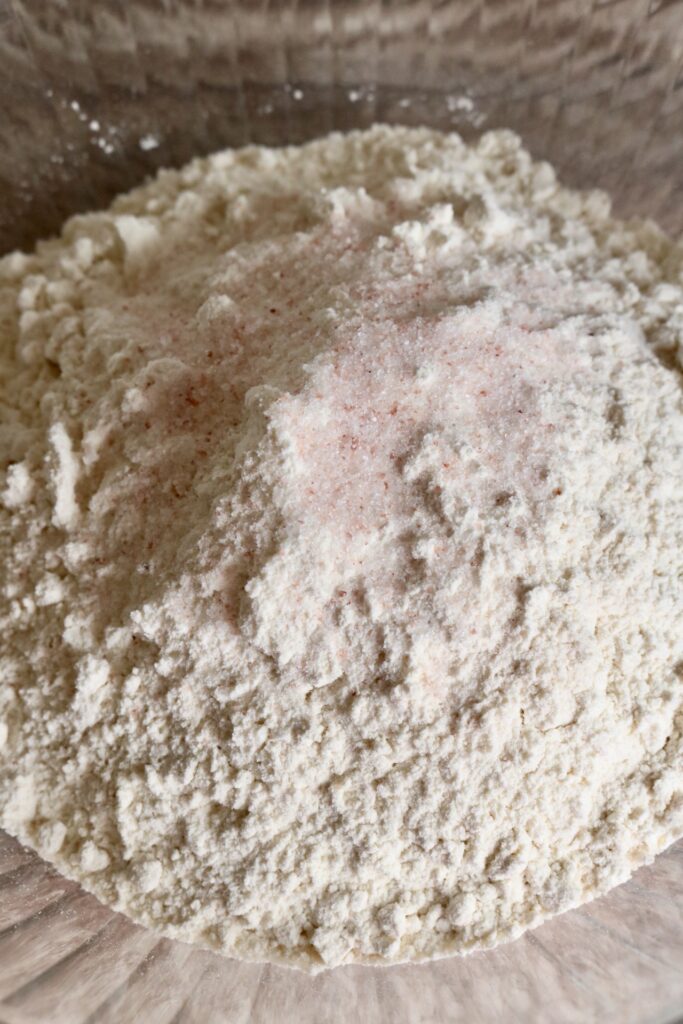
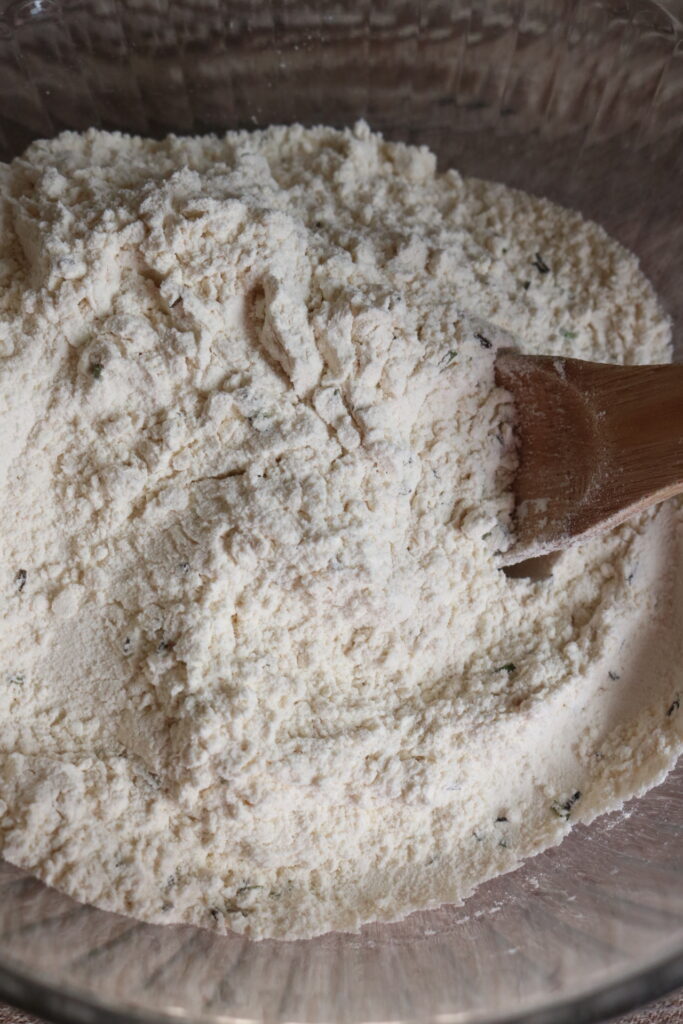
Step 1: Place a large bowl on your digital scale and weigh out the flour (475 grams) and the salt (10 grams).
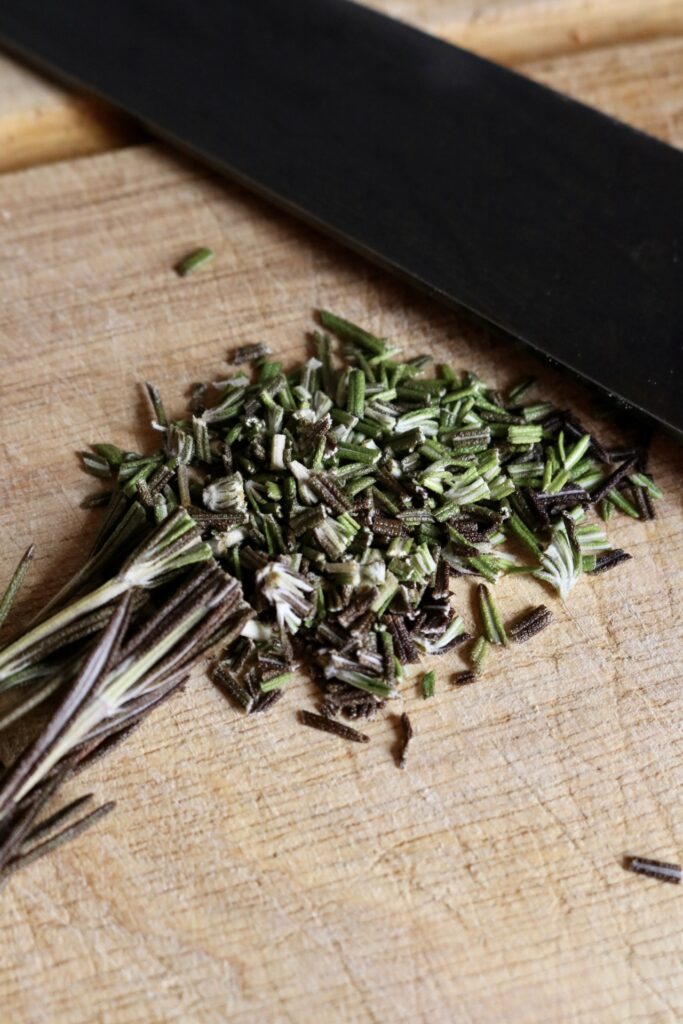
Step 2: Chop the rosemary into small bits with a sharp knife. Measure out (1 Tbs) and add to the bowl. Stir the dry mixture with a large spoon to combine.
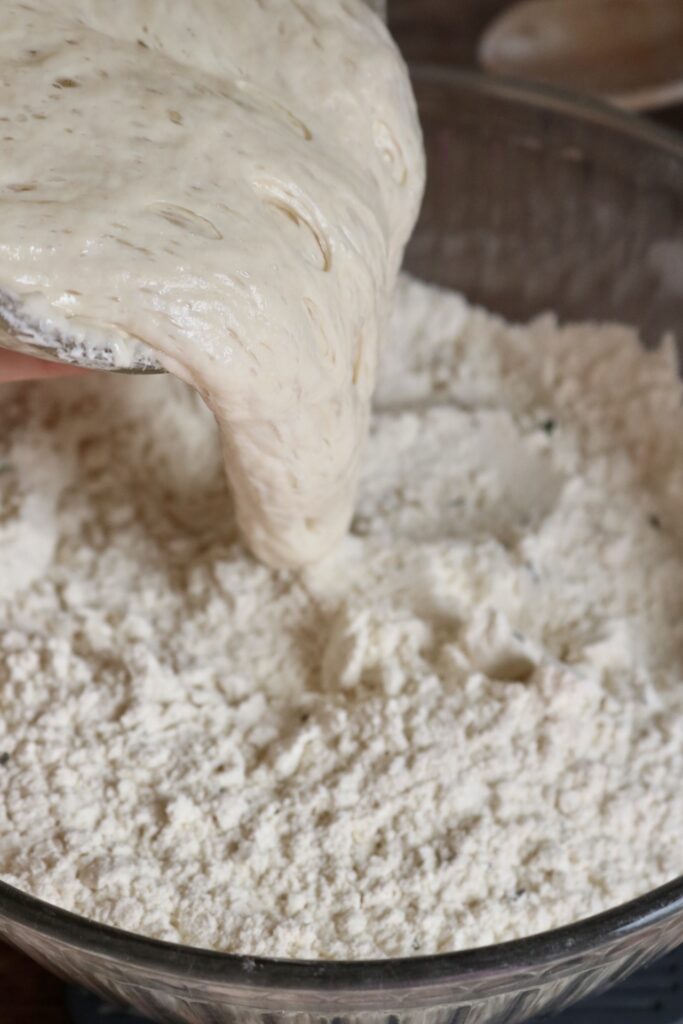
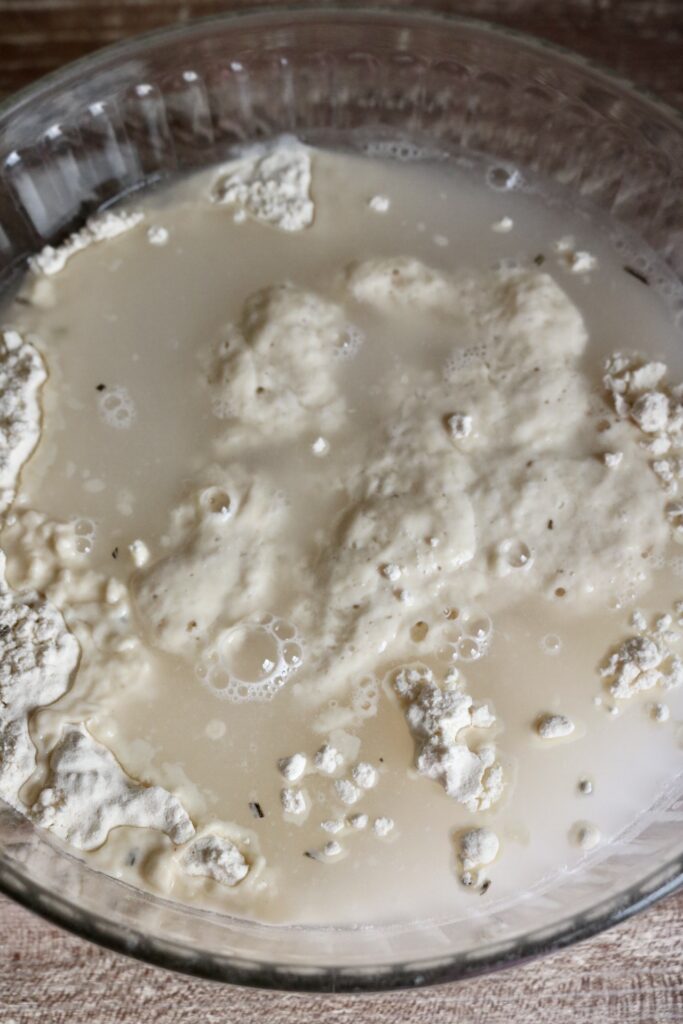
Step 3: With the bowl on the scale pour in the active sourdough starter (100 grams). Tare the scale and pour in the water (325 grams).
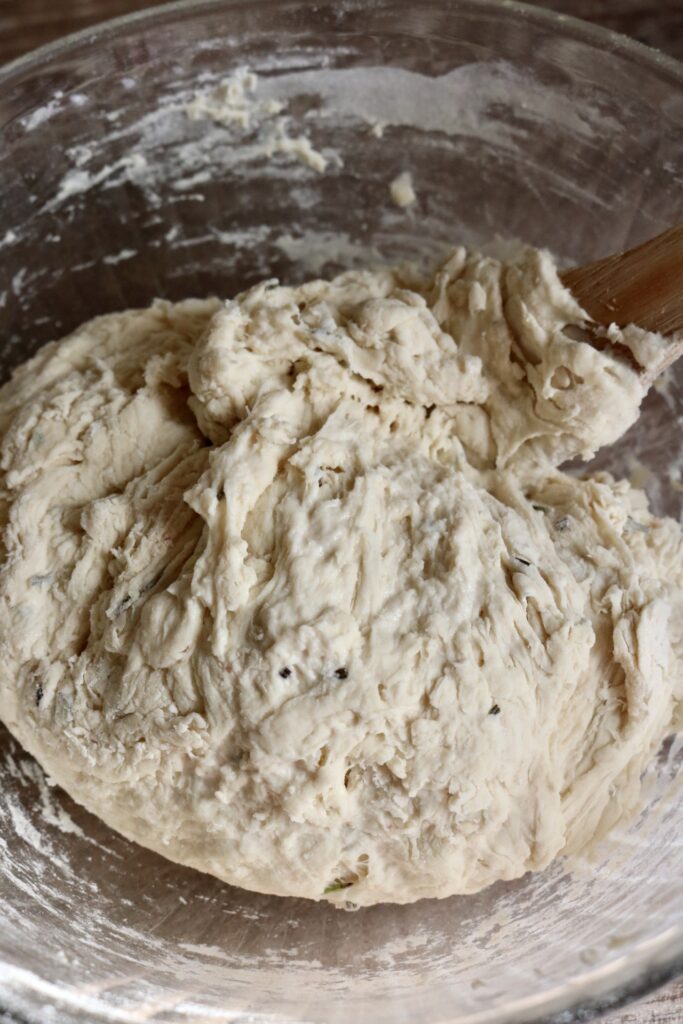
Step 4: Stir well with a large spoon until the water and starter is completely incorporated into the dry ingredients. Cover with a damp tea towel and let the dough sit for 15-30 minutes before stretch and folding.
Step 5: Once the dough has rested for 15-30 minutes, do a series of stretch and folds.
How to Stretch and Fold – no-knead method
Do this by pulling up the edge of the dough, stretch it, then fold it back on top of itself. Turn the bowl 1/4 turn and repeat. Do this about 8 times, turning the bowl 1/4 turn each time you stretch and fold the dough. If it gets too sticky, wet your hands with a little water before stretching. Let the dough rest for 15-30 minutes between each session. I usually do this process between 2-3 times before letting the dough do a bulk rise. It is very forgiving though so even if you do less it will still turn out great. It just may not be quite as fluffy.
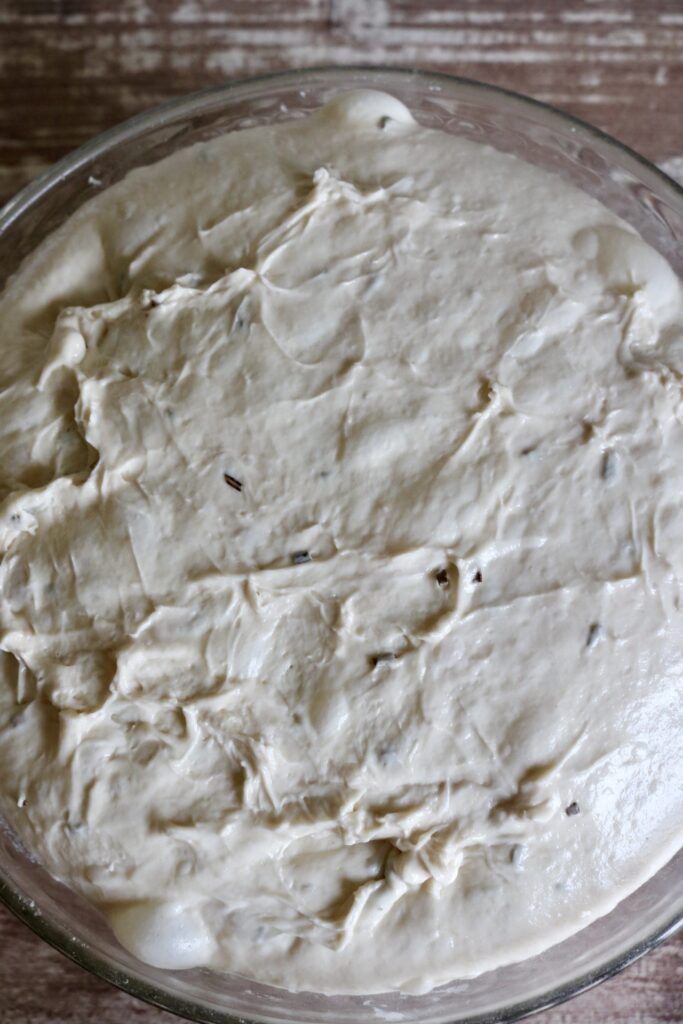
Step 6: Cover the dough with a damp tea towel and set in a warm place to bulk ferment. The bulk ferment usually takes between 6-10 hours, depending on the warmth of your home. The dough will have doubled in size with lots of air bubbles.
If you need to speed this up, place the bowl in the oven with the light on. This helps tremendously if you need to get the bulk rise to get done faster. If you need to slow it down, place the dough in a cool place or your fridge.
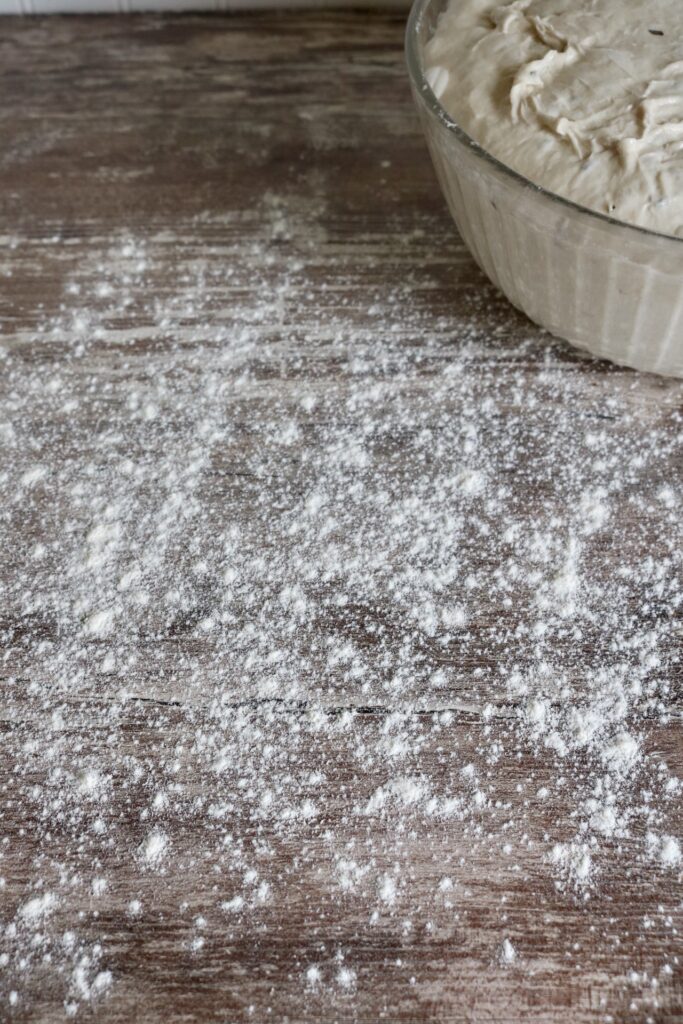
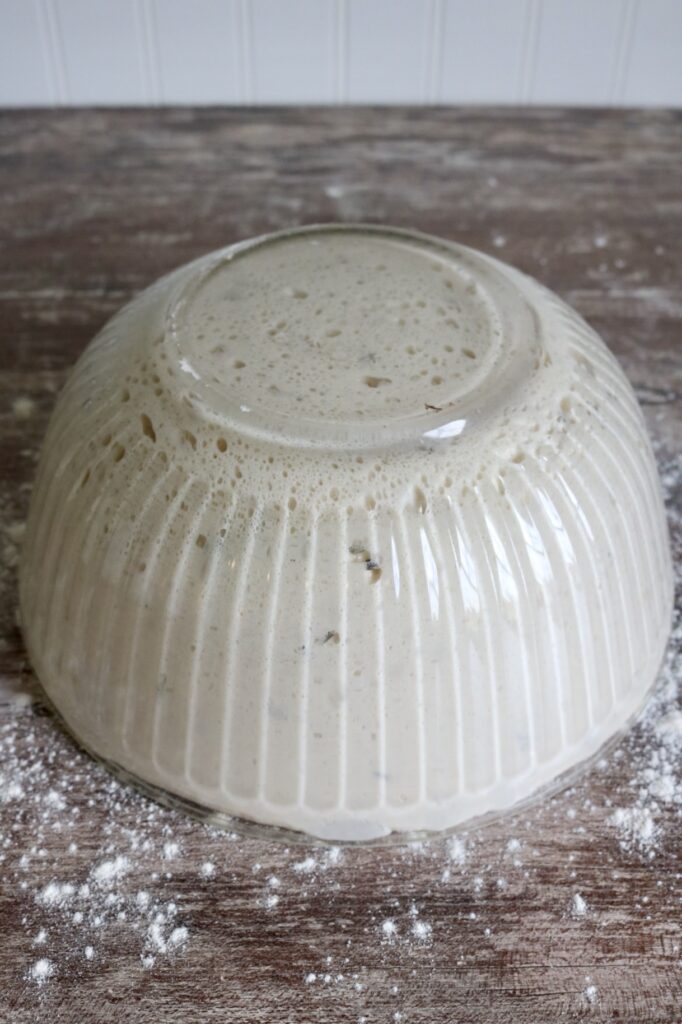
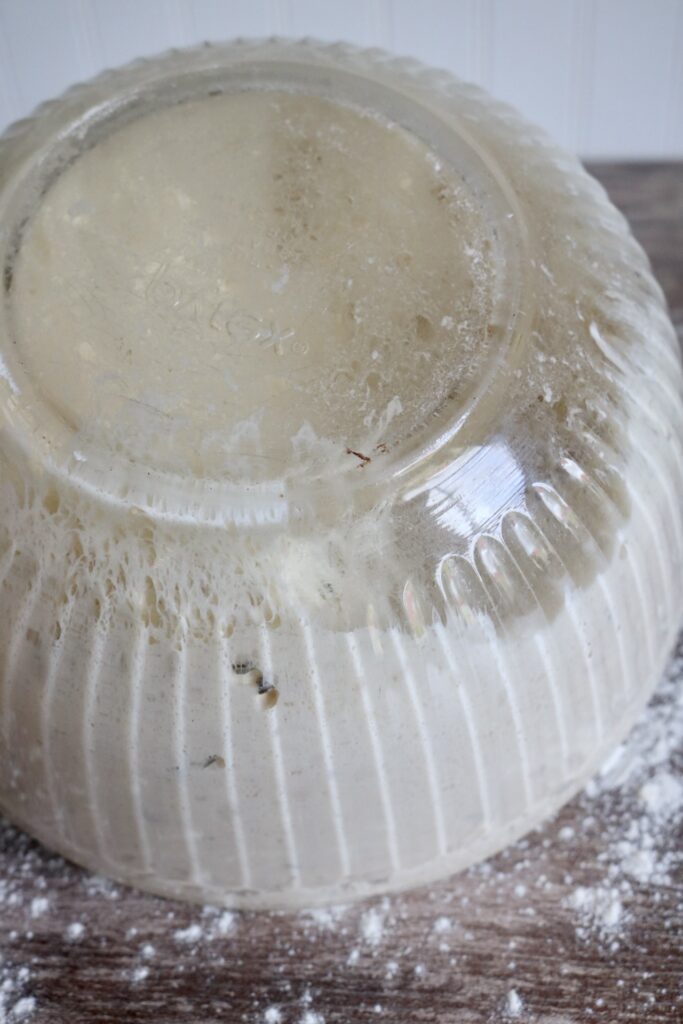
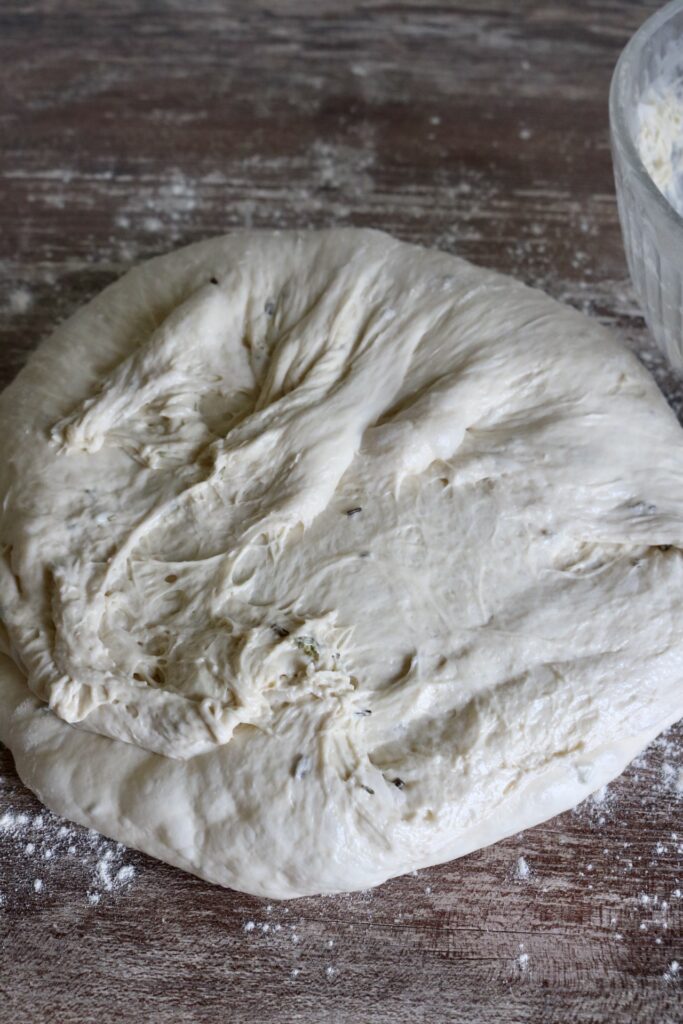
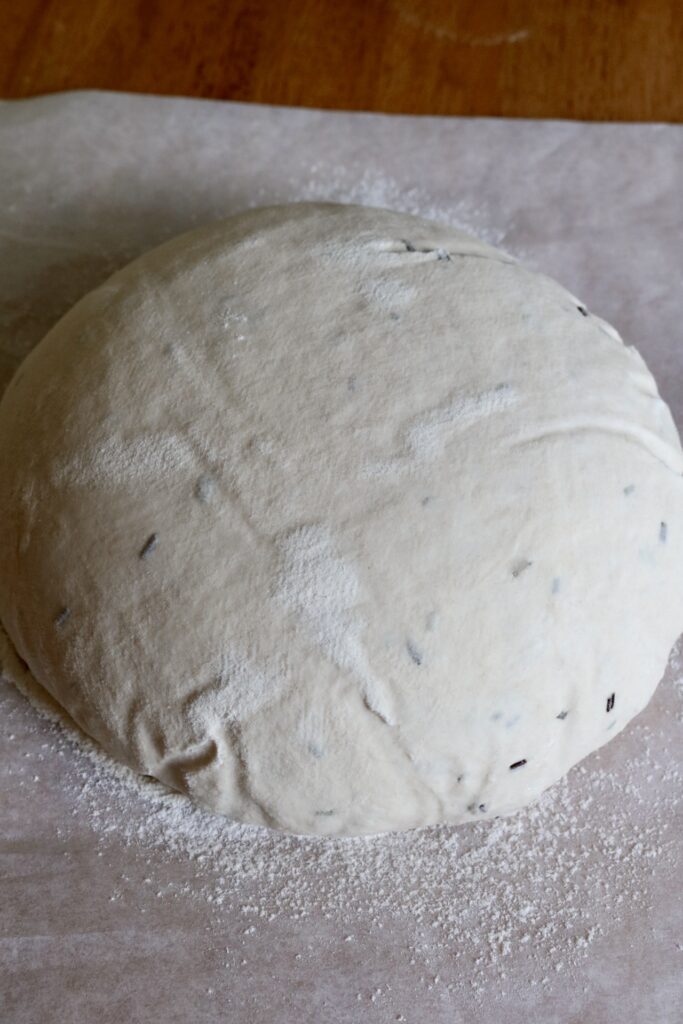
Step 7: Sprinkle flour over a smooth countertop and place the bowl of dough upside down on the countertop. The dough will release slowly from the sides of the bowl. Lift the bowl up and wait until the dough releases itself, scraping the sides of the bowl with a rubber spatula if necessary.
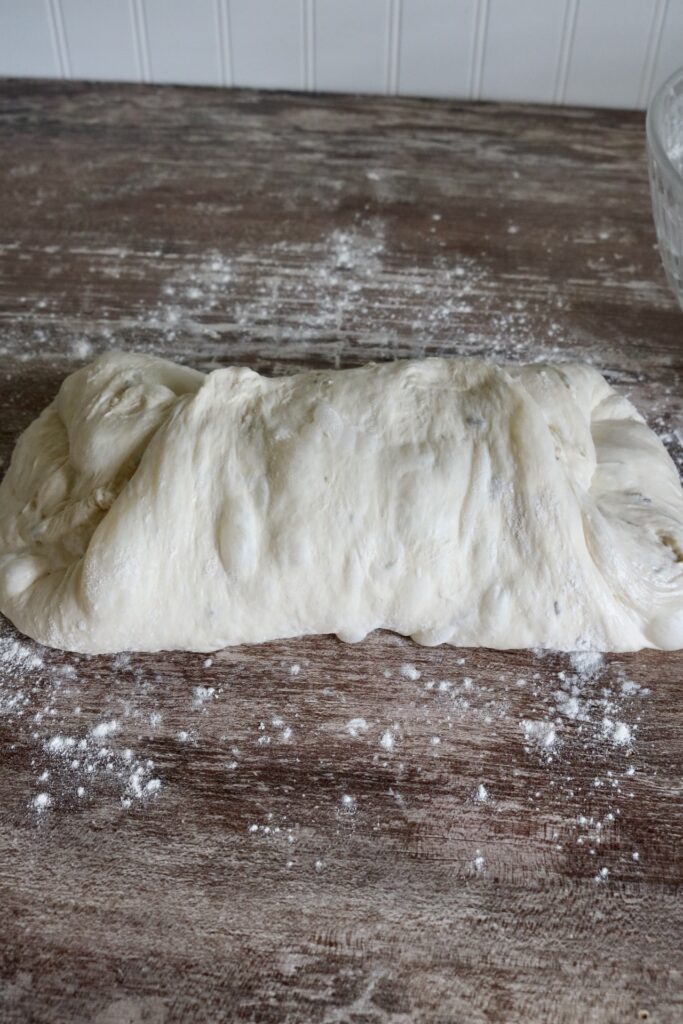
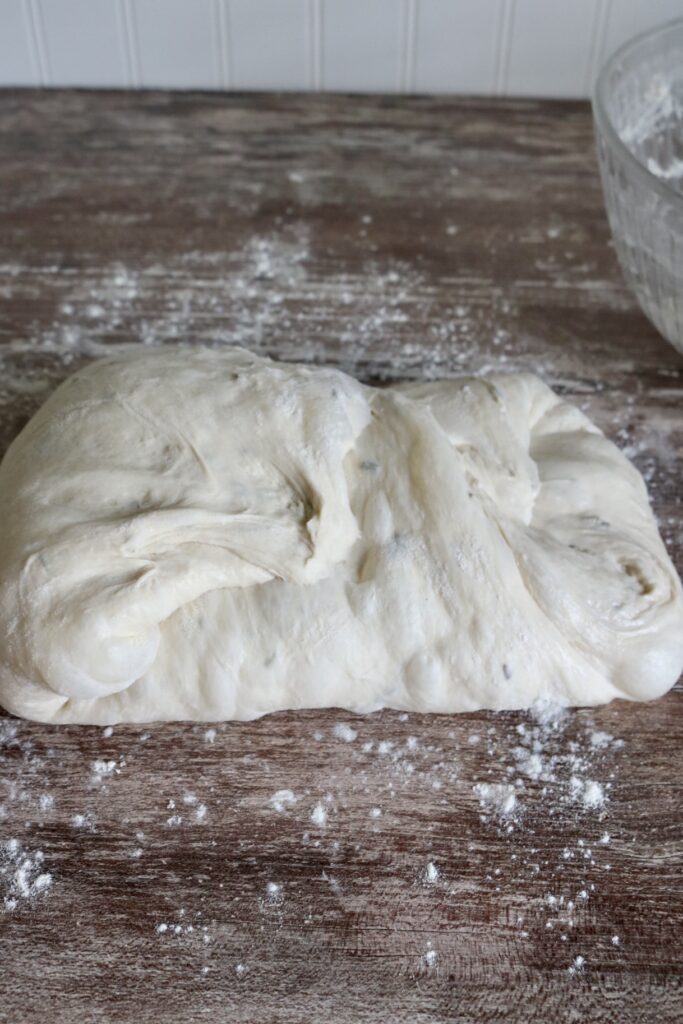
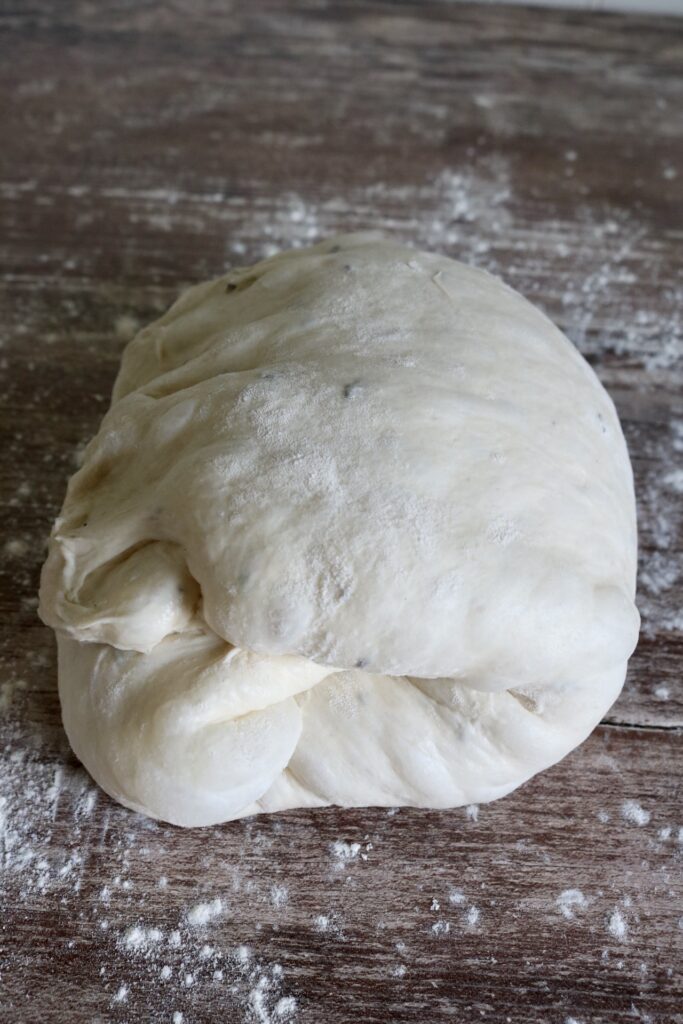
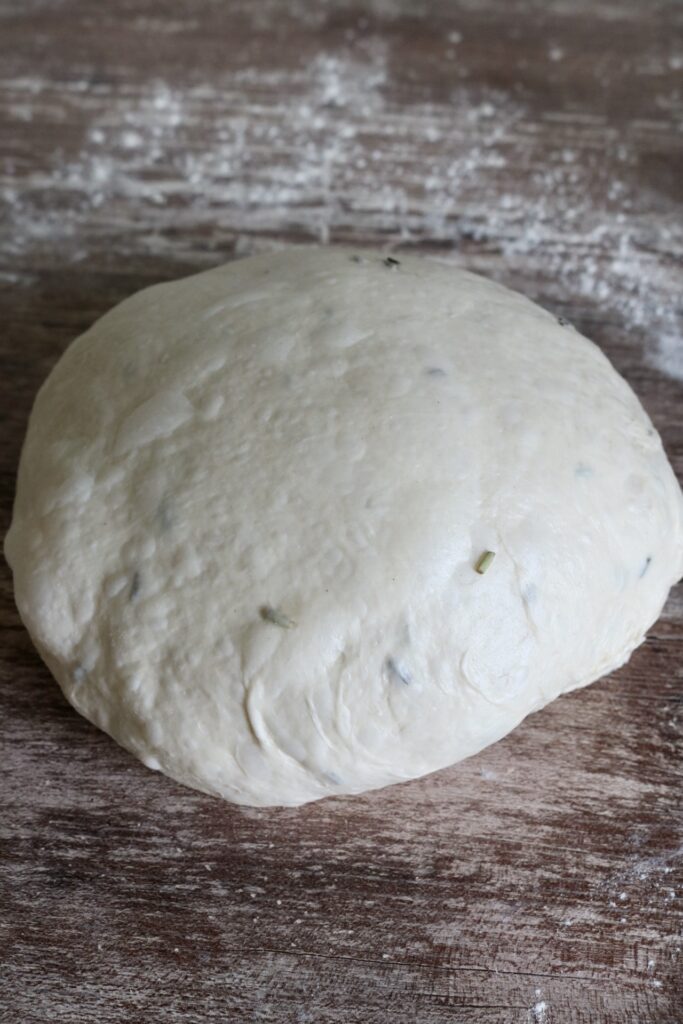
Step 8: Fold the dough in thirds, rotate, and fold in thirds again. Roll it over, seam side down and form it into a ball, pulling it in a circular motion towards yourself, going against the tension of the counter. Hopefully that makes sense…it is hard to describe in writing. A smooth ball of dough is what you’re going for, regardless of how you get there it will turn out beautifully!
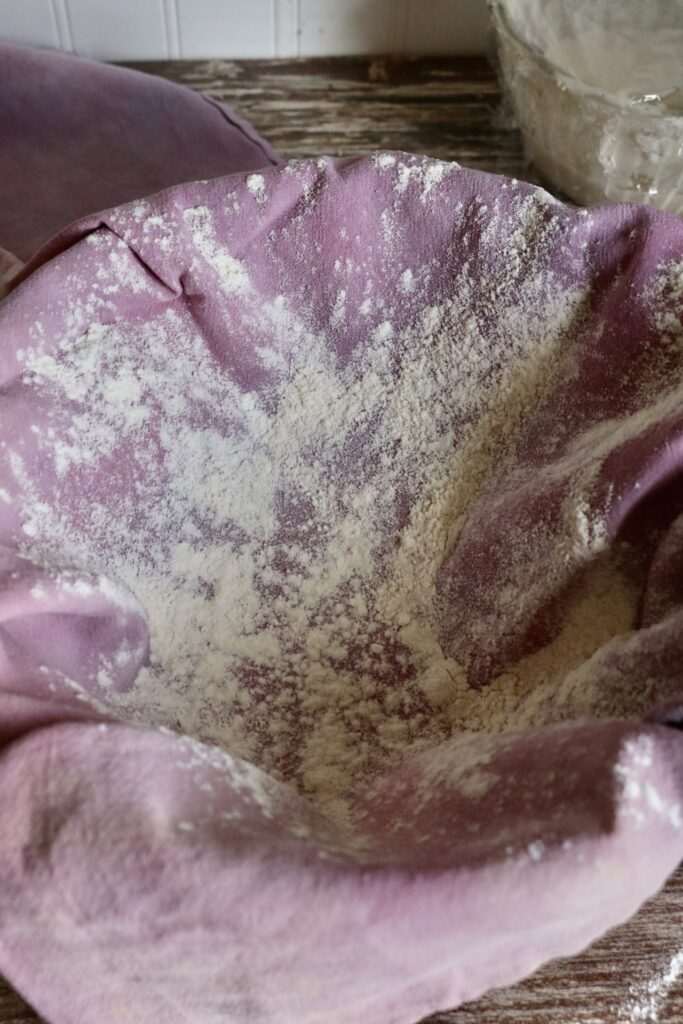
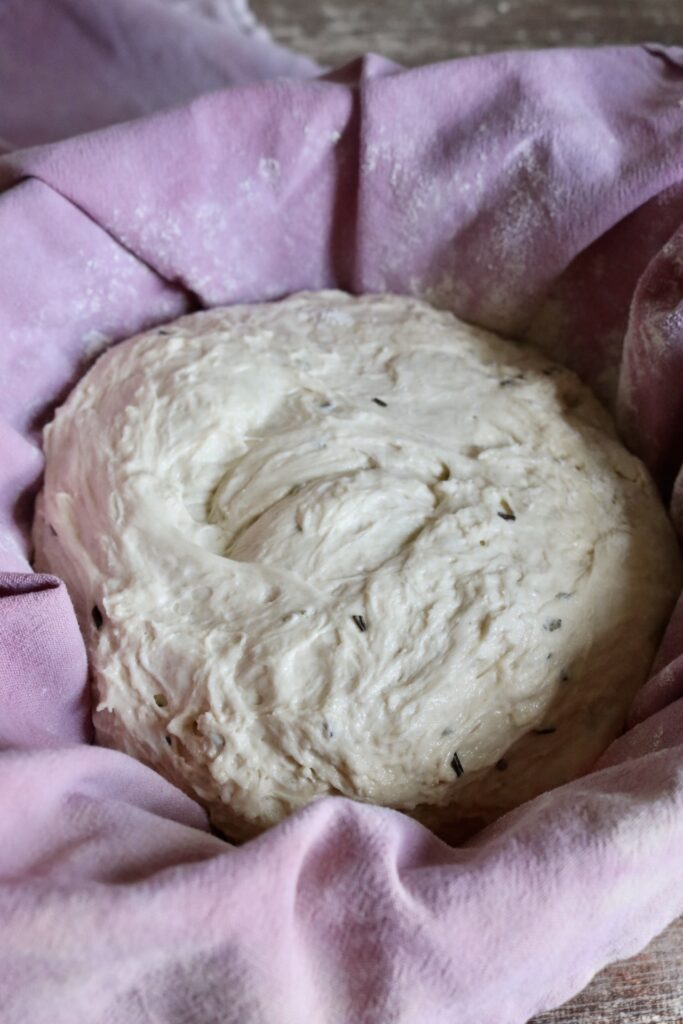
Step 9: Sprinkle flour into a bowl lined with a tea towel or banneton basket. Place the dough into the bowl or banneton seam side up.
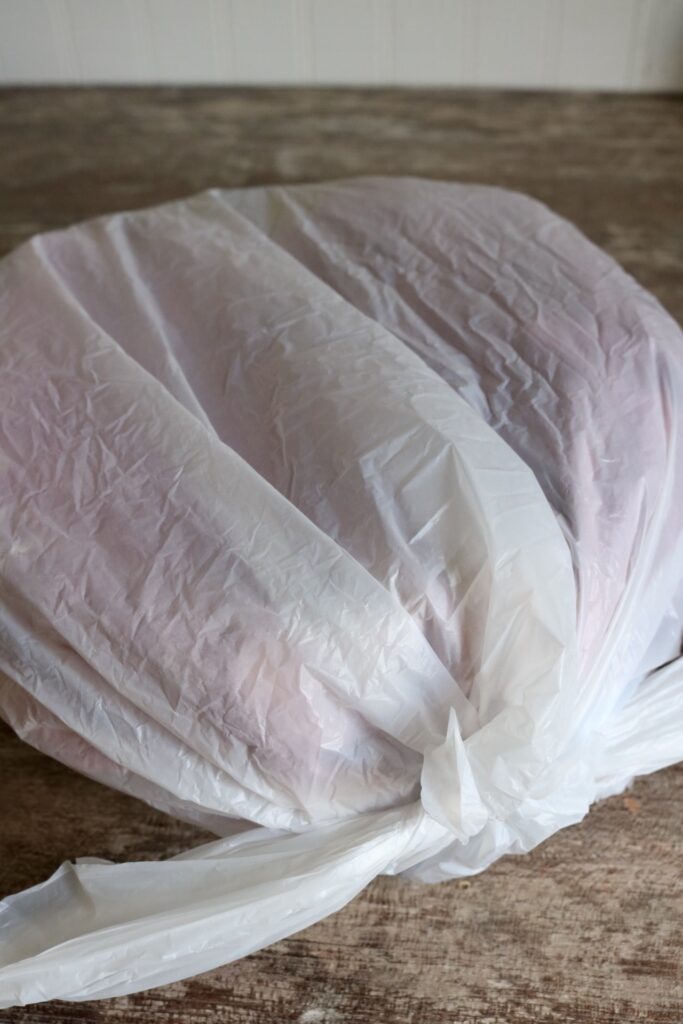
Step 10: Cover the dough and place the bowl in a grocery sack or large bag and tie it closed. Place in the fridge for 2-4 hours or overnight.
Step 11: After the dough has chilled or the next morning, place a dutch oven in your oven and preheat it to 450°. Once the oven has heated fully get your dough out of the fridge.
Step 12: Sprinkle flour on a piece of parchment paper and carefully dump your dough onto the paper. Sprinkle the top of the loaf with flour then smooth the flour out with your hands to create a smooth surface to score on.
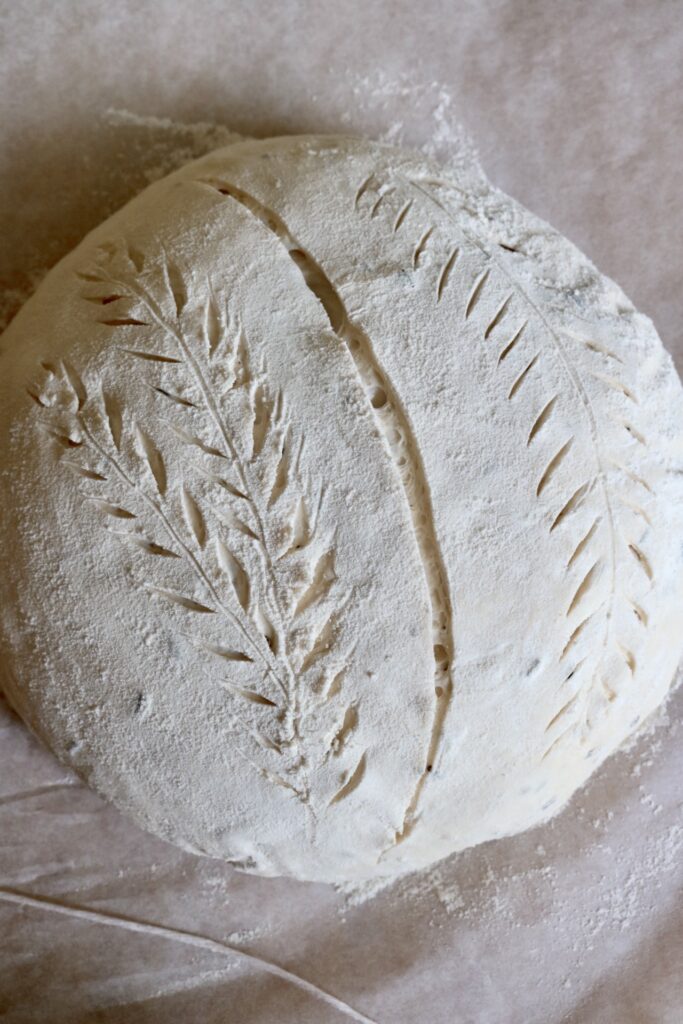
Step 13: Using a razor blade, bread lame, or scoring knife, score your design onto the loaf. This is so fun and you can make some really beautiful artwork!
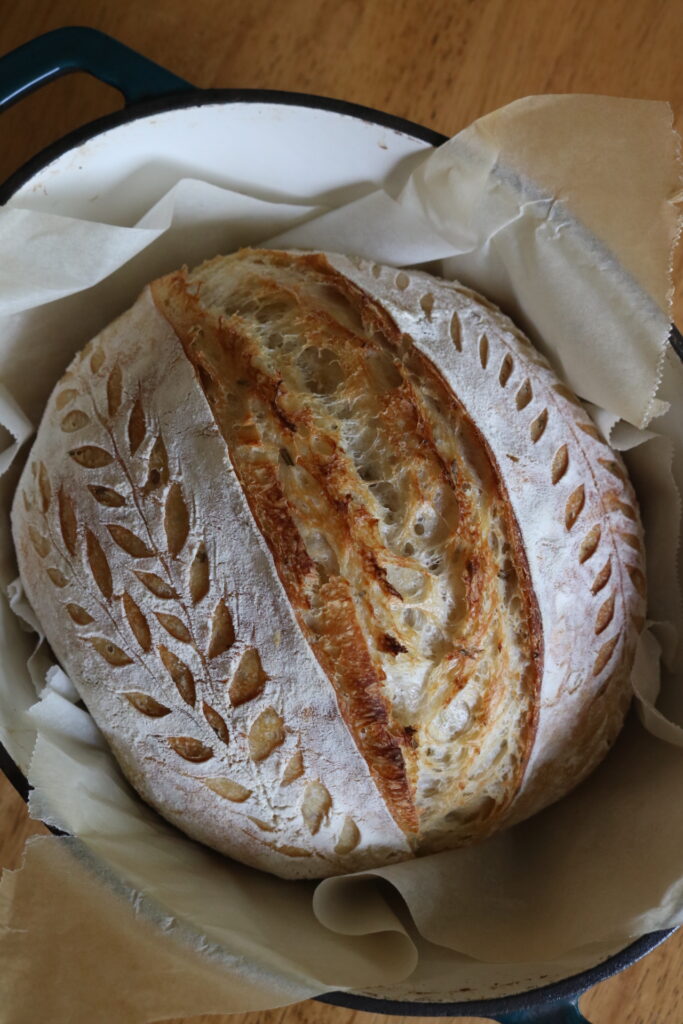
Step 14: Picking the parchment paper up by the sides, carefully transfer it to the preheated dutch oven. BE CAREFUL! It is very hot! Place the lid back on the dutch oven and bake for 20 minutes. Remove the lid and bake for an additional 15-20 minutes until the crust is golden brown. Cool completely before slicing and serving.
How to Serve
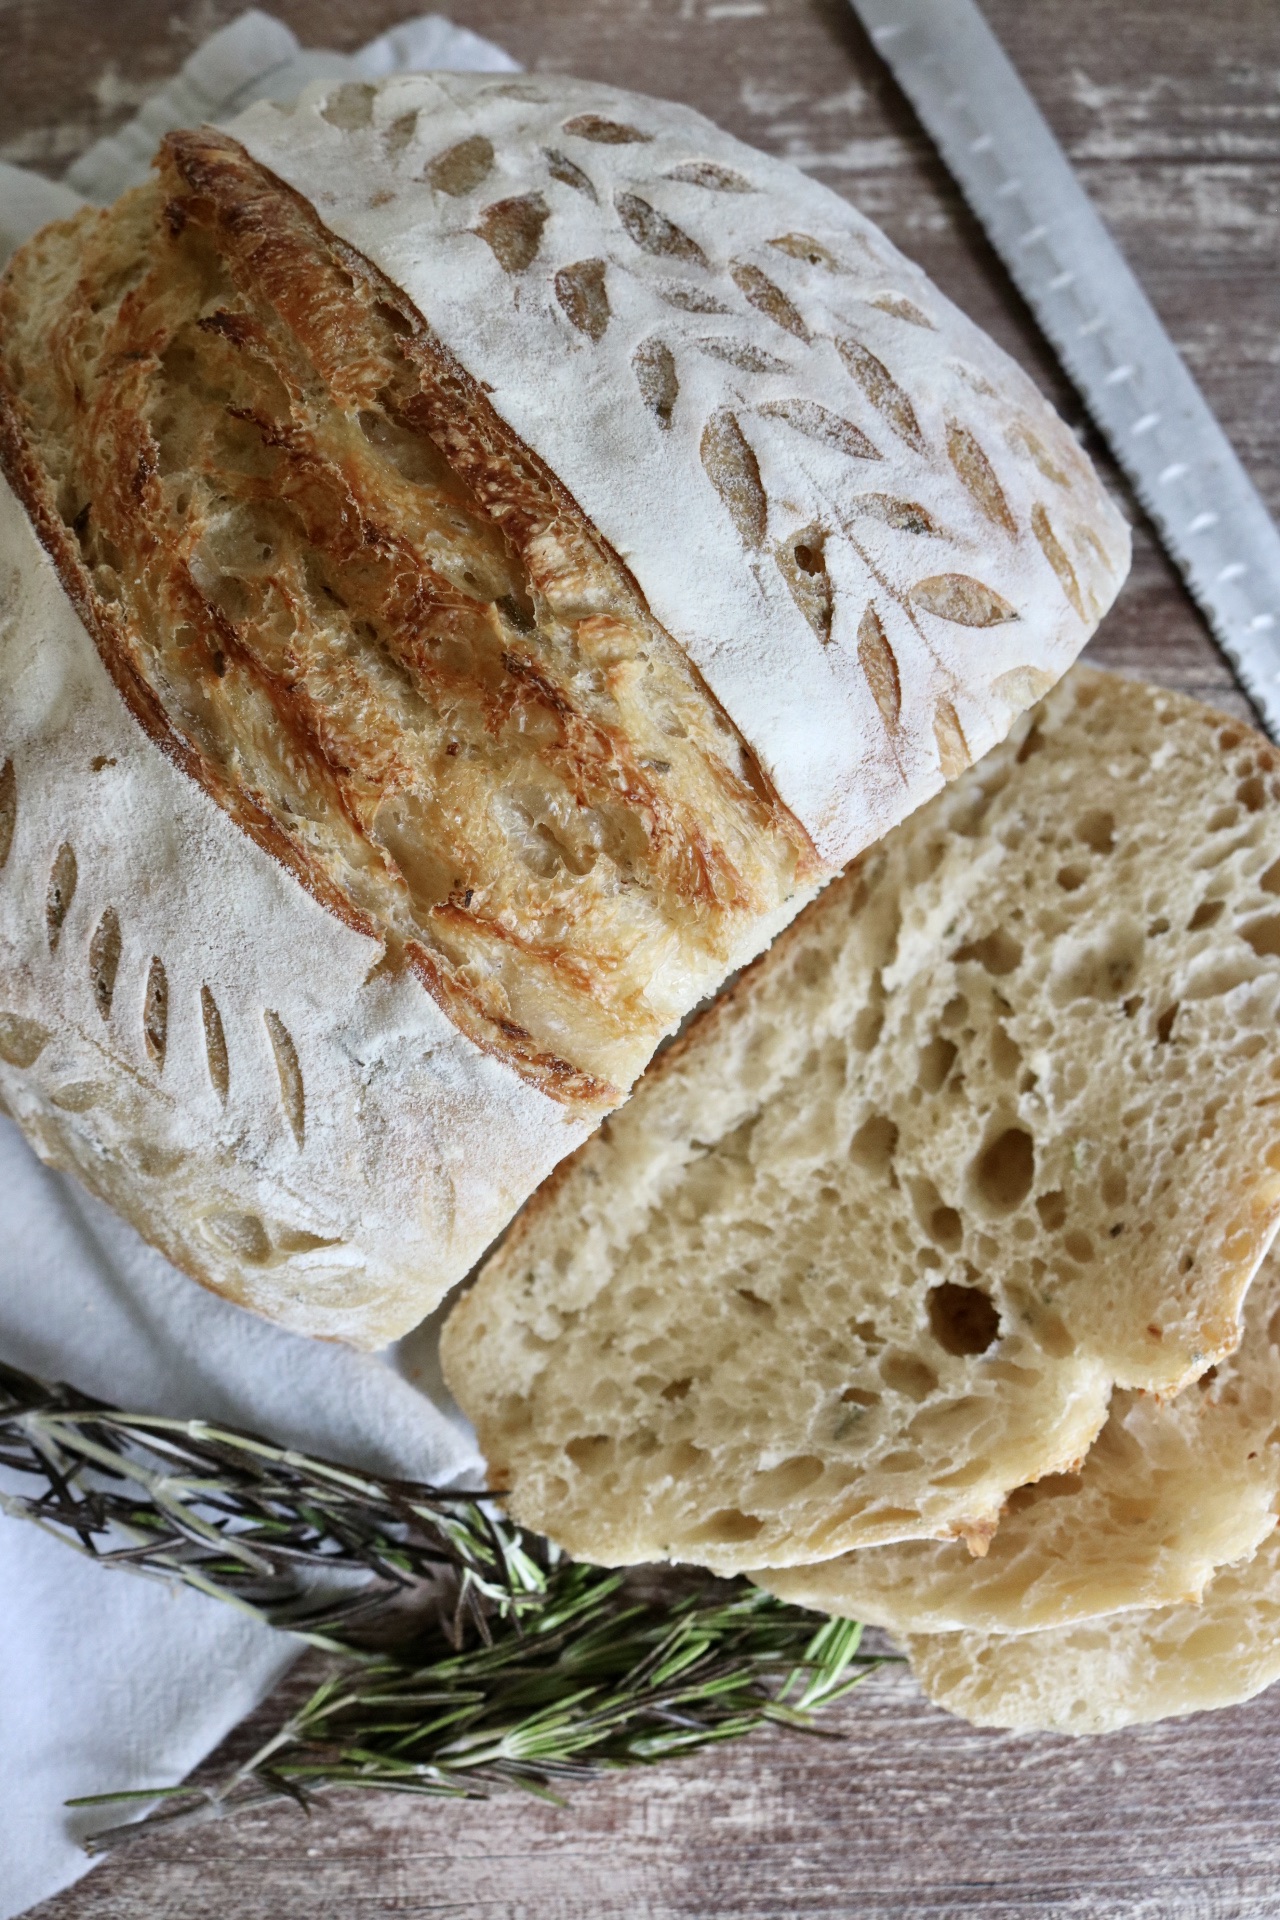
This bread slices best after it has completely cooled. If you must have a piece of very fresh bread straight from the oven though, by all means go for it! It just won’t slice as cleanly as if the bread were cooled.
Rosemary sourdough bread tastes really good toasted with lots of butter, served as a side to eggs or soup. It makes great sandwiches, BLT’s, grilled cheese, and tuna melts as well!
It tastes amazing dipped in olive oil as well! Or make garlic bread by spreading butter, garlic powder and salt on slices of it then broiling in the oven until browned.
How to Store
I usually store our bread wrapped up in a clean tea towel on the counter, but we live in a humid climate so bread doesn’t dry out easily.
For maximum freshness, store in an ziplock bag at room temperature for up to 5 days. If kept in the fridge it will stay fresh for up to 8-10 days. If any mold or weird smell appears discard immediately.
Recipe FAQs
Rosemary tastes so good in sourdough bread! It pairs beautifully with the flavor of sourdough and is a unique flavor that is savory and warm. Of course it depends on what each individual likes, but it is well worth trying even if you’re skeptical!
This recipe calls for 1 Tbs. of fresh chopped rosemary but this can be adjusted depending on how strong of a rosemary flavor you like. If using dried rosemary decrease the amount to 2 tsp.
Mix it in with flour and salt before adding the wet ingredients so that it gets evenly distributed throughout the loaf.
More Delicious Recipes from Our Kitchen
If you’ve made this rosemary sourdough bread I would love if you left a star rating and let me know how it went in the comments below 🙂 Thank you for visiting!
Rosemary Sourdough Bread
A delicious sourdough loaf with the savory warm flavor of rosemary throughout. This easy sourdough bread recipe it both beautiful and delicious!
Ingredients
- 475 grams all-purpose flour
- 325 grams water
- 100 grams active sourdough starter
- 10 grams salt
- 1 Tbs. fresh rosemary chopped or 2 tsp. dried
Instructions
1. Place a large bowl on your digital scale and weigh out the flour (475 grams) and the salt (10 grams).
2. Chop the rosemary into small bits with a sharp knife. Measure out (1 Tbs) and add to the bowl. Stir the dry mixture with a large spoon to combine.
3. With the bowl on the scale pour in the active sourdough starter (100 grams). Tare the scale and pour in the water (325 grams).
4. Stir well with a large spoon until the water and starter is completely incorporated into the dry ingredients. Cover with a damp tea towel and let the dough sit for 15-30 minutes before stretch and folding.
5. Once the dough has rested for 15-30 minutes, do a series of stretch and folds.
How to Stretch and Fold - The No-Knead Method:
Do this by pulling up the edge of the dough, stretch it, then fold it back on top of itself. Turn the bowl 1/4 turn and repeat. Do this about 8 times, turning the bowl 1/4 turn each time you stretch and fold the dough. If it gets too sticky, wet your hands with a little water before stretching. Let the dough rest for 15-30 minutes between each session. I usually do this process between 2-3 times before letting the dough do a bulk rise. It is very forgiving though so even if you do less it will still turn out great. It just may not be quite as fluffy.
6. Cover the dough with a damp tea towel and set in a warm place to bulk ferment. The bulk ferment usually takes between 6-10 hours, depending on the warmth of your home. The dough will have doubled in size with lots of air bubbles.
If you need to speed this up, place the bowl in the oven with the light on. This helps tremendously if you need to get the bulk rise to get done faster. If you need to slow it down, place the dough in a cool place or your fridge.
7. Sprinkle flour over a smooth countertop and place the bowl of dough upside down on the countertop. The dough will release slowly from the sides of the bowl. Lift the bowl up and wait until the dough releases itself, scraping the sides of the bowl with a rubber spatula if necessary.
8. Fold the dough in thirds, rotate, and fold in thirds again. Roll it over, seam side down and form it into a ball, pulling it in a circular motion towards yourself, going against the tension of the counter. Hopefully that makes sense...it is hard to describe in writing. A smooth ball of dough is what you're going for, regardless of how you get there it will turn out beautifully!
9. Sprinkle flour into a bowl lined with a tea towel or banneton basket. Place the dough into the bowl or banneton seam side up.
10. Cover the dough and place the bowl in a grocery sack or large bag and tie it closed. Place in the fridge for 2-4 hours or overnight.
2-4 hours later or the next morning:
11. Place a dutch oven in your oven and preheat it to 450°. Once the oven has heated fully get your dough out of the fridge.
12. Sprinkle flour on a piece of parchment paper and carefully dump your dough onto the paper. Sprinkle the top of the loaf with flour then smooth the flour out with your hands to create a smooth surface to score on.
13. Using a razor blade, bread lame, or scoring knife, score your design onto the loaf. This is so fun and you can make some really beautiful artwork!
14. Picking the parchment paper up by the sides, carefully transfer it to the preheated dutch oven. BECAREFUL! It is very hot! Place the lid back on the dutch oven and bake for 20 minutes. Remove the lid and bake for an additional 15-20 minutes until the crust is golden brown. Cool completely before slicing and serving.
Nutrition Information:
Yield:
12Serving Size:
1Amount Per Serving: Calories: 167Total Fat: 1gSaturated Fat: 0gUnsaturated Fat: 1gSodium: 372mgCarbohydrates: 35gFiber: 1gSugar: 0gProtein: 5g
Nutrition information is automatically calculated, so should only be used as an approximation.


Rosemary sourdough is one of my favorite breads to make. So easy!! Thank you for the recipe!
Awesome recipe. Rosemary is great to add to sourdough bread.